13–19 years
Art Workshop
From ideas to real projects
A creative studio for teenagers, where an idea develops from a concept and 3D model into a real physical object.
Concept Art • Blender • 3D printing • model-making • Portfolio
- Age
- 13–19 years
- Format
- In person • small group
- Schedule
- 1 lesson per week, 90 minutes
- Duration
- 36–38 lessons per year
- Language
- Russian • English
- Location
- Limassol
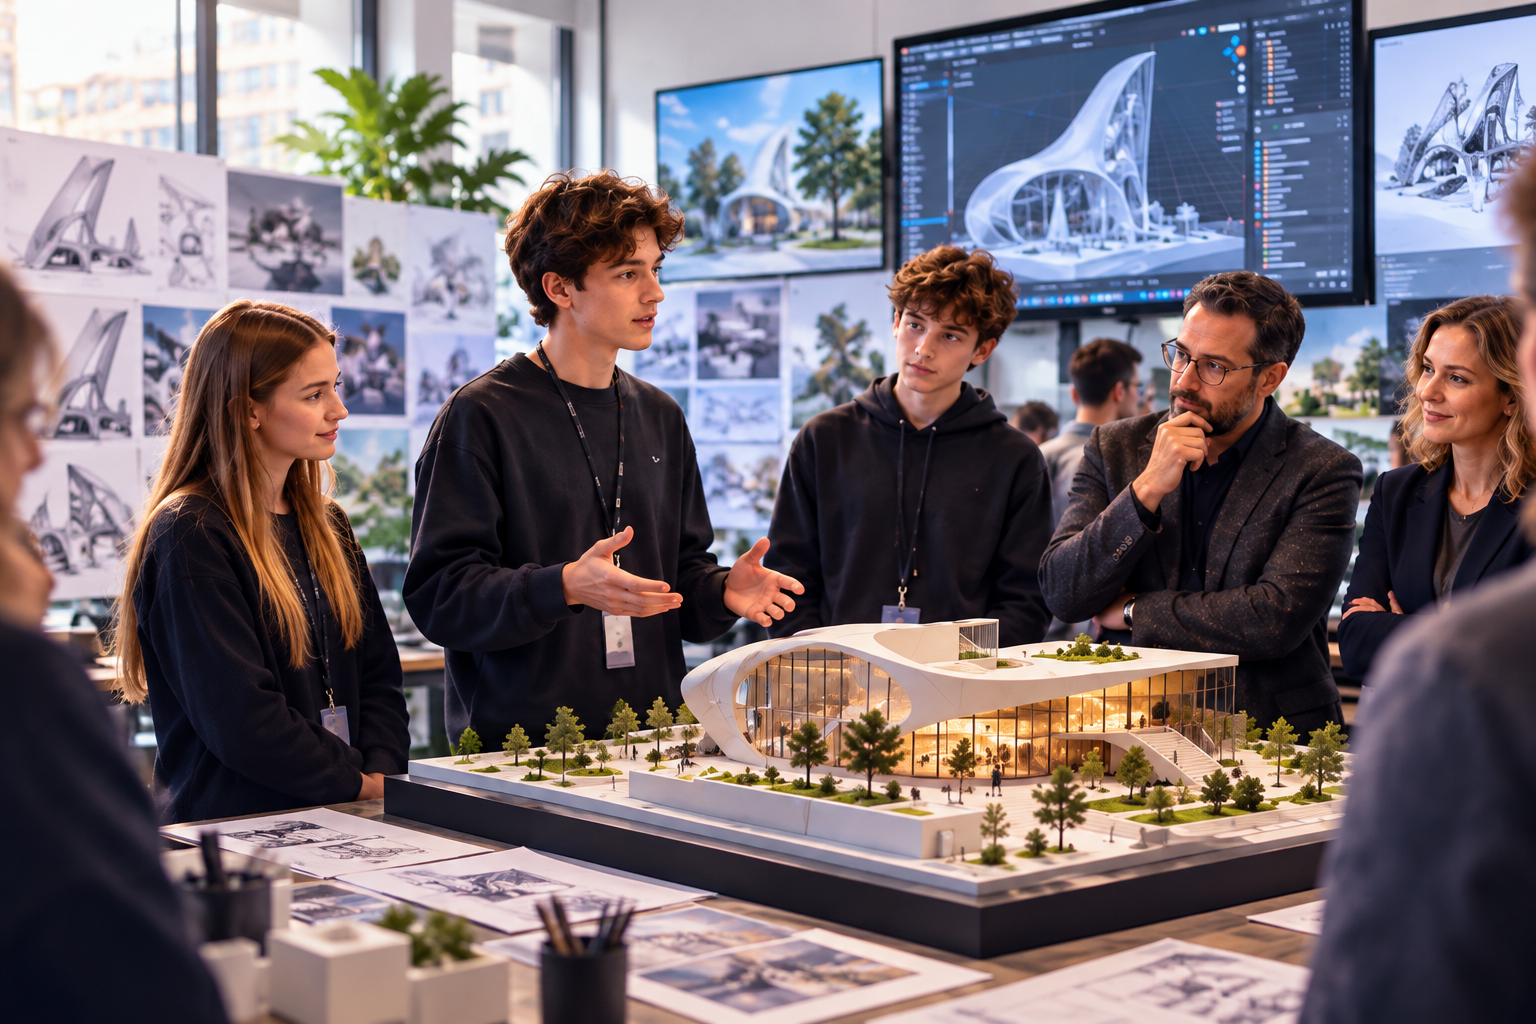
From imagination to reality
An idea does not remain a picture on a screen. Students follow the whole journey: from a concept and 3D model to a real physical object they can hold and show others.
This is not a drawing club or another course in a single software package. It is a workshop where digital tools and hands-on work come together in one project.
- Idea→
- Design→
- Create→
- Build→
- Present
Don't just draw it. Create it.
The idea comes first
Work begins not with software, but with an idea: references, form, silhouette, proportions, character, the object's function and the project's visual language.
The idea could be a character, an object, an art piece, a building, an interior or an entire location.
Here, students are not simply software users — they are the creators of their projects.
AI helps explore ideas. People make the decisions.
We do not ban AI or pretend that modern tools do not exist.
But generating an attractive picture is not enough. Students need to evaluate the result, spot errors, choose a suitable option and turn the idea into a project that can actually be made.
The final decision stays with the creator.
- —exploring visual directions
- —finding references
- —exploring different forms
- —experimenting
- —developing initial concepts
From concept to 3D model
The idea takes on three dimensions.
In Blender, students create their own models, work with form, proportions and details, and gradually move from simple objects to more complex projects.
Here, Blender is one of the main tools for bringing a project to life, not an end in itself.
Will it actually print?
Design meets engineering.
A good digital model does not automatically make a good physical object. Students need to think ahead about:
- ✦whether the part will withstand printing
- ✦whether it is too thin
- ✦where overhangs occur
- ✦whether supports are needed
- ✦how to orient the object for printing
- ✦whether the model needs to be split into several parts
- ✦how to assemble those parts afterwards
- ✦which small details are best added after printing using other materials
Learning to think not just about how an object looks, but also about how to make it.
Printed. Now for the hands-on work.
- Print→
- Clean→
- Sand→
- Assemble→
- Prime→
- Paint→
- Details→
- Varnish
The 3D printer creates the base. But a finished art object only emerges through hands-on work.
If thin elements cannot be printed well — a character's moustache, for example — they can be added after printing using wire or another material.
Digital + hands-on
- remove supports
- clean and sand the surface
- assemble the parts
- correct minor defects
- add elements made from other materials
- apply primer
- apply the base colour
- paint the model
- create textures and details
- apply a final protective finish
From a building to an entire space
An architectural project is more than a façade made on a 3D printer.
Students create complete models and design the space as a whole.
Students design not just an individual object, but a space and the way people will interact with it.
One course — different projects
Character Design
Characters for games, animation and their own stories.
3D Art
Figurines, sculptures and art objects.
Product Design
Functional and decorative objects.
Props
Objects and elements for game worlds and visual worlds.
Architecture
Buildings and architectural models.
Environment
Locations, interiors and spatial elements.
A course that grows with the student
- —Concept Art
- —Character Design fundamentals
- —Blender
- —3D modelling
- —3D printing
- —preparing models for printing
- —hand-finishing
- —painting
- —first architecture and design projects
- —presenting their own work
Learning to turn an original idea into a finished project.
- —more complex independent projects
- —Blender
- —Character / Product / Architecture
- —the complete journey from concept to final result
- —portfolio-ready works
- —presentation
- —university preparation
- —an introduction to the workflow of a real commission
- —first steps towards freelancing
Creating substantial projects to support future education and career pathways.
More than coursework. Projects for a portfolio.
For older secondary school students, Art Workshop is a space to create more substantial, fully realised projects and gradually build their own portfolio.
Concept Character
From ideas and sketches to a finished character design.
3D Character
A character designed and modelled in 3D.
Product Design
An object's concept and physical prototype.
Architectural Model
A building, its interior and the surrounding space.
Environment / Location
A design for a space or visual world.
Physical Art Object
A digital idea turned into a finished physical object.
Projects can be used when preparing a portfolio for applications in:
We help students create and develop projects that could become part of an admissions portfolio.
I'd like to prepare a portfolioHow does it work in the real world?
Older students gradually discover how work on a real project is organised.
- Brief→
- Idea→
- References→
- Concept→
- Approval→
- Modelling→
- Feedback→
- Revisions→
- Final result→
- Presentation
It is important to learn not just to create what you enjoy, but also to understand the brief, take requirements into account, accept feedback, make revisions and see a project through to completion. These are the first steps towards understanding a professional workflow.
From skills to first independent projects
3D modelling and visual development skills can be used far beyond the classroom.
We do not promise earnings or commissions. The course aims to introduce students to a professional workflow and give them skills they can use to move towards their first independent projects in the future.
Creating is not enough. You need to present it.
Work on a project does not end when the 3D printer switches off. It is important to be able to explain:
- —what problem you were solving
- —where the idea came from
- —why you chose that particular form
- —what challenges arose
- —which decisions you had to revise
- —how the result turned out
Who students learn from
Work by Stas Nikonovich — a practising 3D artist and founder of Sculpture Studio Nikonovich S.
Click on a work to view it larger
Teacher
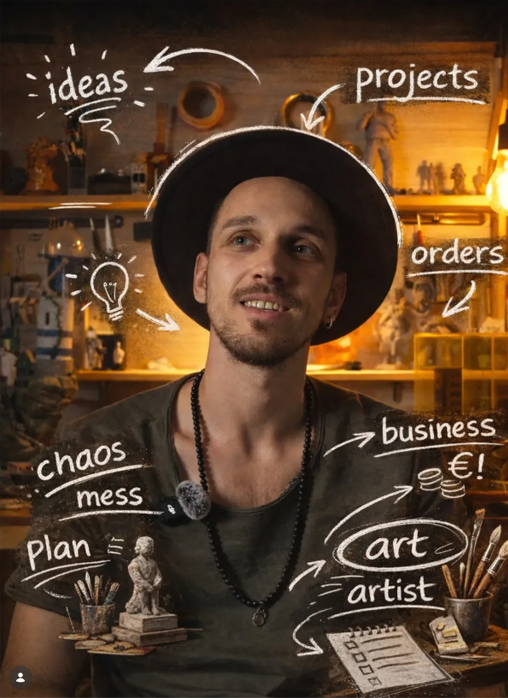
Stas Nikonovich
Students learn not from a theory-only teacher, but from a practising professional who creates 3D objects and sculptures: from digital modelling and printing to post-processing, painting and decorative artwork.
Stas demonstrates how work on an object really happens: how an idea takes shape, why a model needs to be prepared for printing, how to achieve a smooth finish and how to use colour to bring a figure to life.
More than software and tools
The ability to develop ideas
Creating an original concept rather than copying existing work.
The ability to design
Thinking not just about appearance, but also about how to bring a design to life.
Digital + hands-on
Combining digital technologies with practical hands-on work.
Project thinking
Following the entire journey from idea to result.
The ability to improve
Rather than abandoning a project when the first version does not work, analysing the problem and finding a solution.
Presentation & portfolio
Being able to present their work and, for older students, create projects that could become part of a portfolio.
Already studied 3D Printing?
Great — Art Workshop could be the next step.
- — Tinkercad
- — first projects in Blender
- — first original models
- — 3D printing
- — Concept Art
- — Blender
- — complex projects
- — 3D printing
- — hand-finishing
- — model-making
- — portfolio
Students can also join Art Workshop without taking the younger-age course — the teacher will help identify the right level.
Explore 3D PrintingDon't just imagine it. Create it.
From a digital idea to a project you can hold and show others.
Book a trial lesson